How to Connect a USB Coin Microscope to Your Computer
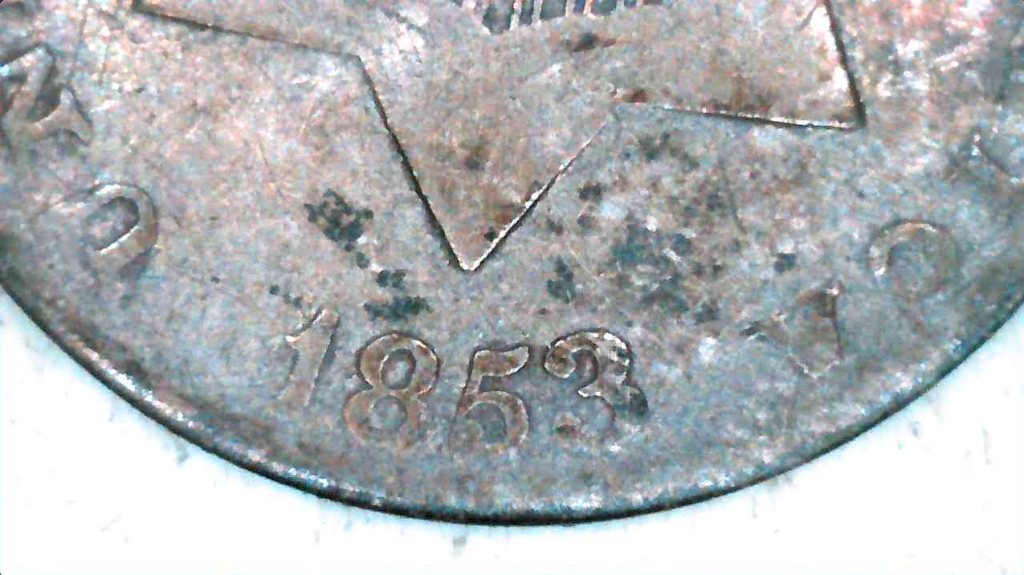
If you’re trying to inspect coins more closely, a USB microscope is one of the best investments you can make. The good news is: they’re pretty easy to set up. This is the one I use. It’s cheap and gets the job done well. The bad news is: some of them come with sketchy apps, outdated instructions, or no support at all.
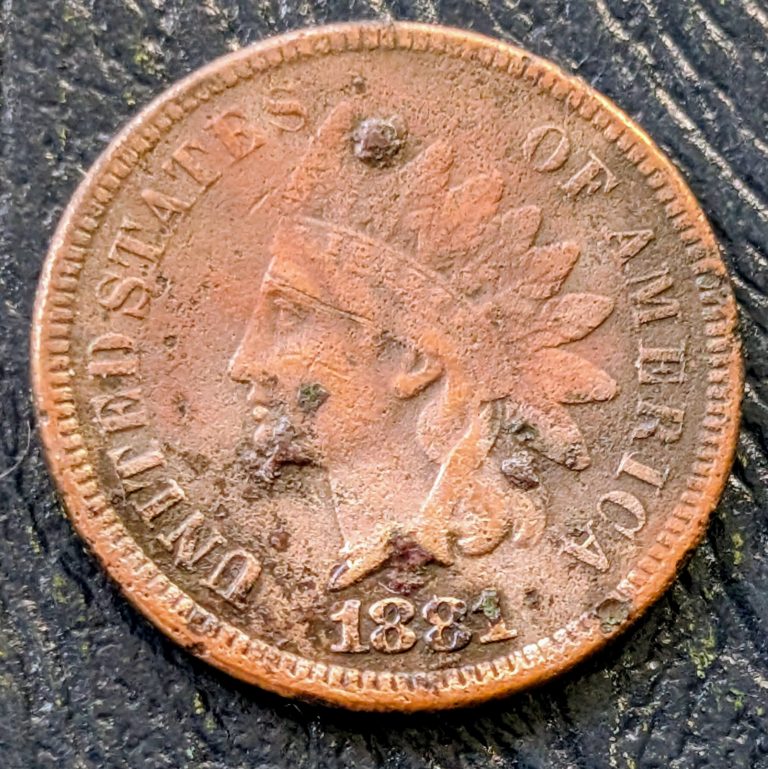
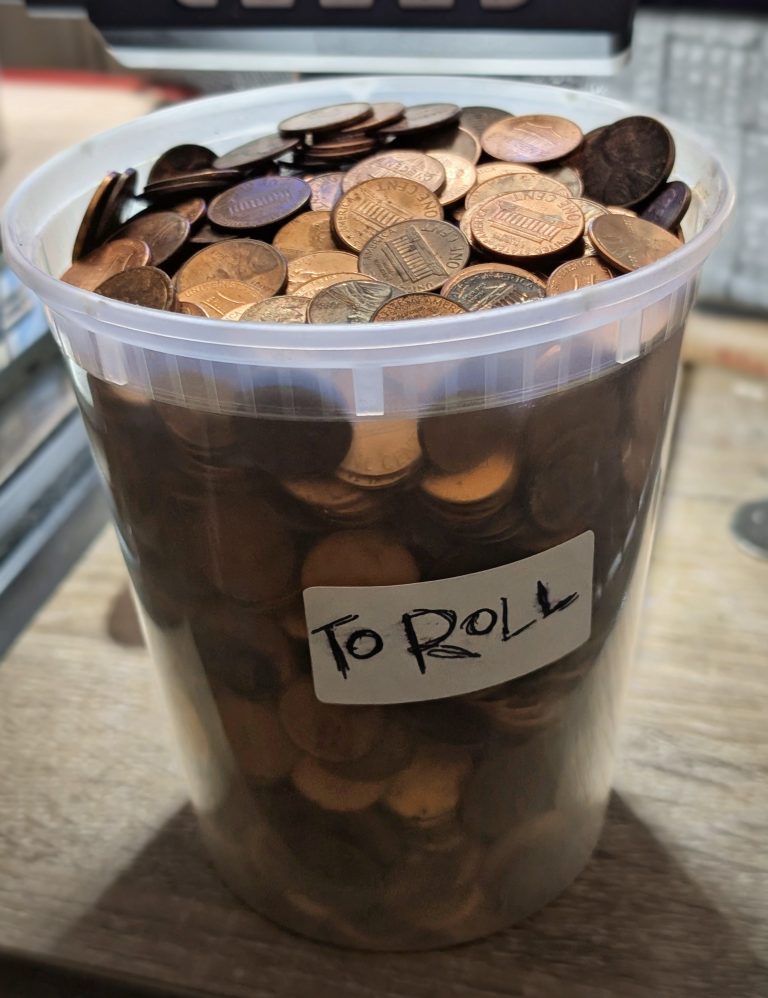
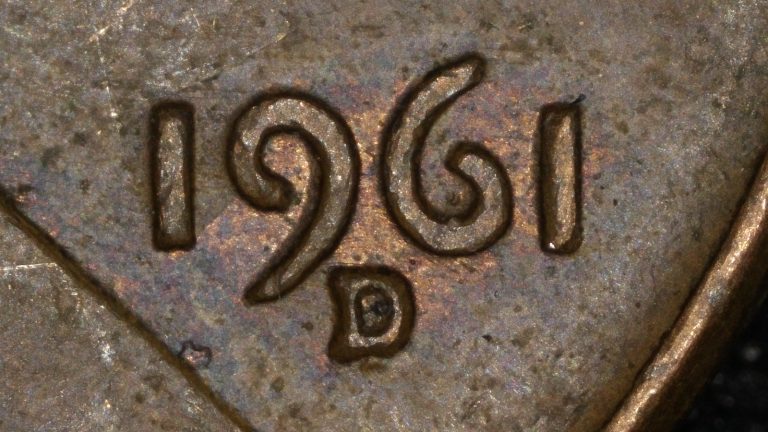
Looking at coins on a tiny built-in microscope screen is brutal. Your eyes will start to ache fast, especially if you’re hunting through entire rolls looking for doubling or die cracks. One of the biggest advantages of using a USB scope with your computer is the full-screen view. It’s like going from squinting through a keyhole to standing in front of a window. You can sit back, adjust lighting and focus with ease, and actually enjoy the hunt instead of frying your retinas.
Here’s how to get one working on a Mac.
Step 1: Plug it in
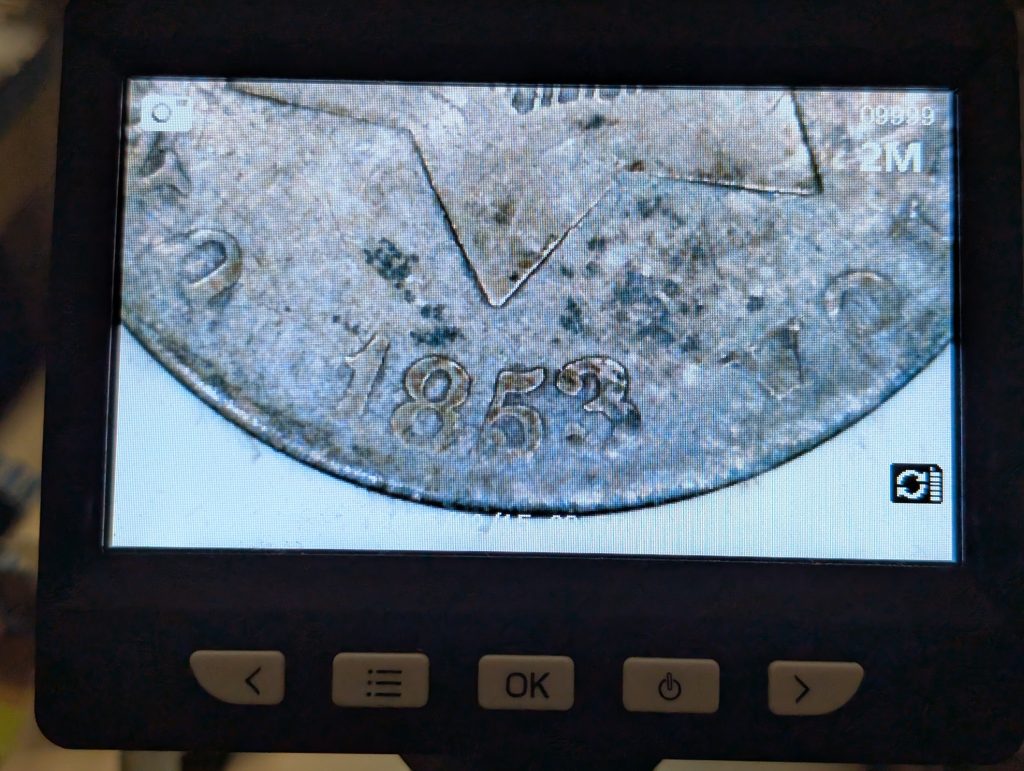
Most older USB microscopes use a standard USB-A plug, newer ones come with USB-C. If your Mac only has USB-C ports (which most newer ones do), you’ll need a USB-C to USB-A adapter. You can find these for under $10 online.
Once connected, your microscope should power on. You’ll usually see a small LED light turn on near the lens.
Step 2: Skip the Manufacturer App
If your microscope came with a download link or QR code for an app, ignore it. These are often outdated or buggy. Instead, use your Mac’s built-in software:
Open QuickTime Player
- Launch QuickTime Player
- Click File > New Movie Recording
- Click the small arrow next to the red record button
- Under Camera, select your microscope (it may be listed under a generic name like “USB Camera”)
You should now see the live feed from your scope.
Step 3: Adjust Settings
Once the camera feed is live, you can:
- Use the physical dial on the microscope to focus
- Adjust lighting with the small wheel or button on the cord (not all models have this)
- Zoom in by moving the scope closer. Most microscopes are fixed zoom, not digital.
Capturing Images
You have a few solid options on a Mac. These methods are great for getting repeatable, consistent image sizes.
Quick Screenshot: Press Command + Shift + 4 to select part of the screen. It’s fast and saves the image to your desktop.
Fixed Size Capture:
- In QuickTime, choose File > New Screen Recording
- Click the small dashed looking box next to the record button and choose Capture Selected Portion
- Set the frame where you want it. Click Capture. It’ll save to your Documents folder after you click on the preview thumbnail.
If you want more control (e.g. saving images or videos), you can also use Photo Booth or a free app like Webcamoid (open-source, no bloat).
What About PC?
The process is similar:
- Plug it in
- Open the built-in Camera app
- Select your USB microscope as the source
- Capture photos or video
If the Camera app doesn’t recognize it, try AMCap or Webcamoid. Just avoid any janky third-party software that comes with the scope. Seriously, I can’t imagine what these things will install on your computer.
Bonus Tips
- Mount it: Many scopes come with a flimsy plastic stand. You can upgrade to a metal articulating arm for better control and stability.
- Light helps: Even with built-in LEDs, extra lighting can improve image quality. Try a desk lamp from the side or a strong flashlight for looking at doubling.
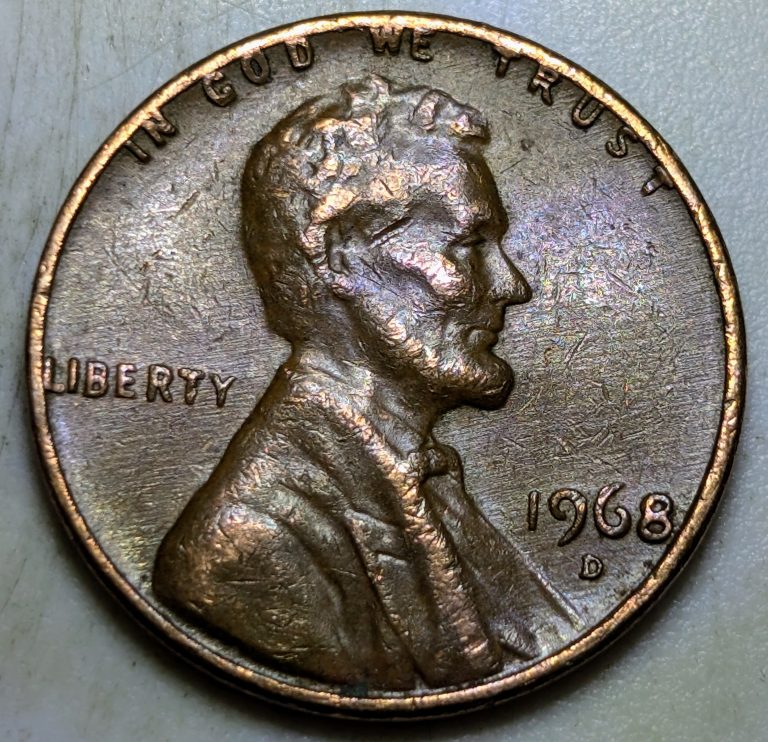
- Practice: Getting sharp, full-coin images takes a little time. Start with one cent coins to practice framing and focus.
Final Thoughts
Once your microscope is connected and you get a feel for the setup, you’ll wonder how you ever collected coins without it. Whether you’re checking for RPMs or just admiring die cracks, this tool pays for itself in a hurry. You’ll never have to squint your eyes for hours again while looking through roll after roll. This is one of the best bang-for-your-buck tools in modern coin collecting.
Geoff runs Genuine Cents, a straight talking coin education project built from hands-on experience and hundreds of hours examining coins. He is an ANA member and writes practical guides for new and returning collectors who want clarity instead of hype. If you want to reach him, message him on Instagram at @GenuineCents.

